How to Use FF14 Keypad Software
Before using the software, please update to the latest version by clicking on the link below.
Update
System Requirements: Windows10/8.1/8/7
1. Click the [Download] button to download the FF14 Keypad Software.
2. Plug in the Keypad via USB.
(If you are connecting for the first time, please wait until the driver is done installing.)
3. Start FF14 Keypad Software
* Do not try to connect multiple Keypads at the same time.
– Table of Contents –
How to Copy/Paste/Clear/Default Profiles
Start Screen
When you start up the software the screen below will appear. Click on the Settings icon.
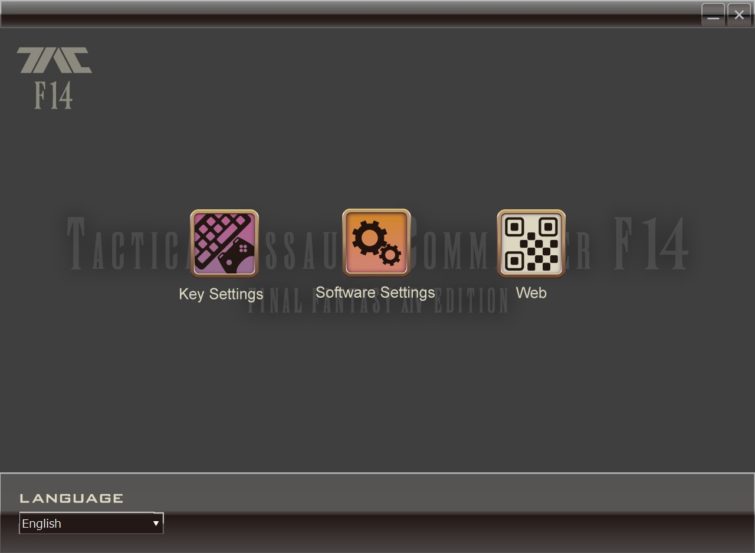

Key Settings: Edit the keypad settings.

Software Settings: Change the software settings.

Web: View the web introductions page.

LANGUAGE: Change the software language setting.
*The software will direct you to Tutorial page first time you click the Key Settings.
Key Settings

Clicking the icon on the Start Sceen will direct you to Key Settings page.
Layout
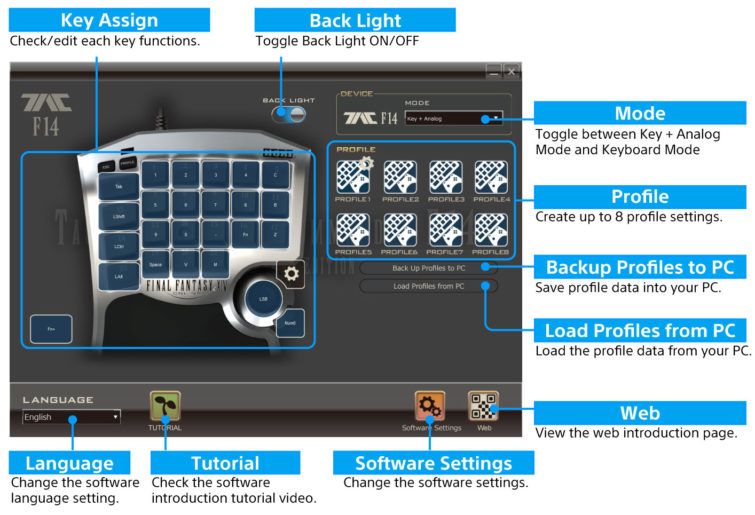
Assign Mode (Key Assignment) Function
Each key function can be changed.
In the instruction manual all keys that can be assigned are marked with a ★ in the “Layout” section.
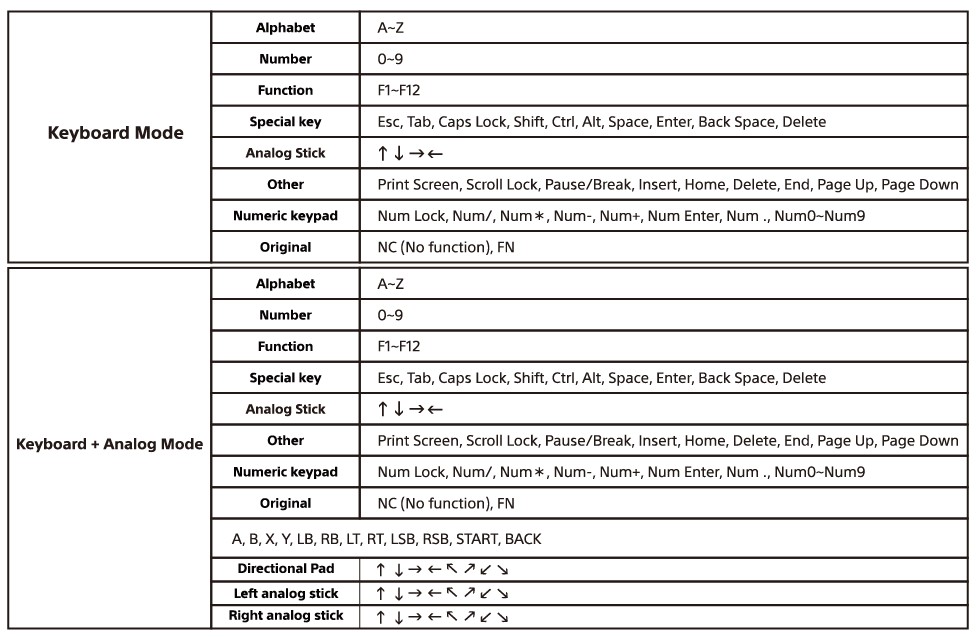
1. Choose either Keyboard Mode or Key + Analog Mode.

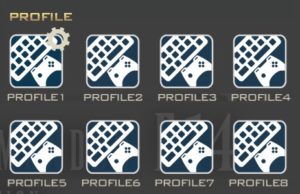
2. Choose the profile to edit.
3. Choose the key
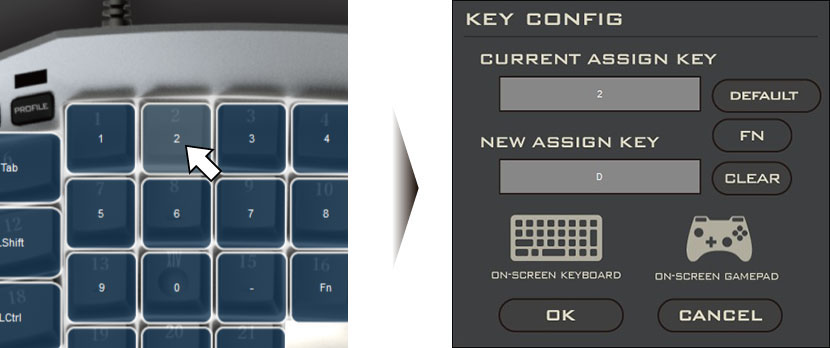
When you click on
 you can change the key config if you push the FN Key.
4.In the Current Assign Key box you will see the current button assigned. In the New Assign Key box enter the button you would like to assign it to and click OK.
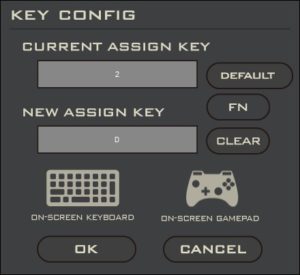
If you don’t have a keyboard or gamepad, you can use the On-Screen Keyboard or On-Screen Controller to assign key functions.
You can assign up to three keys per function. Only two of these keys- CTRL, SHIFT, and ALT- can be used per function.
To assign FN key, click FN.Click Clear to remove the function.
How to Copy/Paste/Clear/Default Profiles
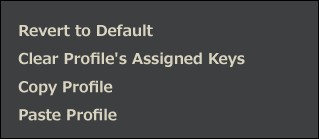
If you right click on the Profile icon, the Menu will appear. Here you can copy and paste a profile or revert a profile back to default.
Stick Function Toggle/Dead Zone Settings

When you click on (the gear icon) the following screen will appear, and the Stick Settings can be changed.
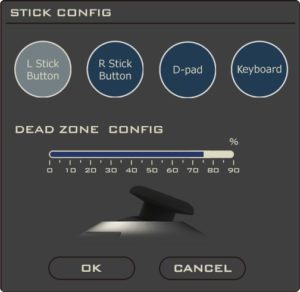
Stick Config
The stick can be configured to either the Left Stick, Right Stick, Keypad, or Keyboard.
The stick can only be configured in Keyboard + Analog Mode. It cannot be configured in Keyboard Mode.
Dead Zone Settings
The Dead Zone setting can be adjusted.
Back up/Load Profiles
Profiles you’ve created can be backed up and loaded from your PC.

Software Settings

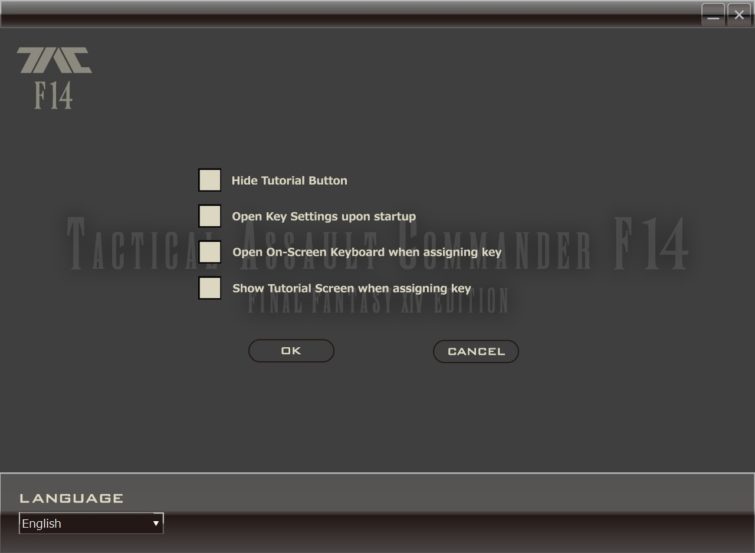
Click the icon to change the software settings.
・Hide Tutorial button
・Open Key Settings upon startup.
・Open On-Screen Keyboard when assigning key.
・Show Tutorial screen when assigning key.
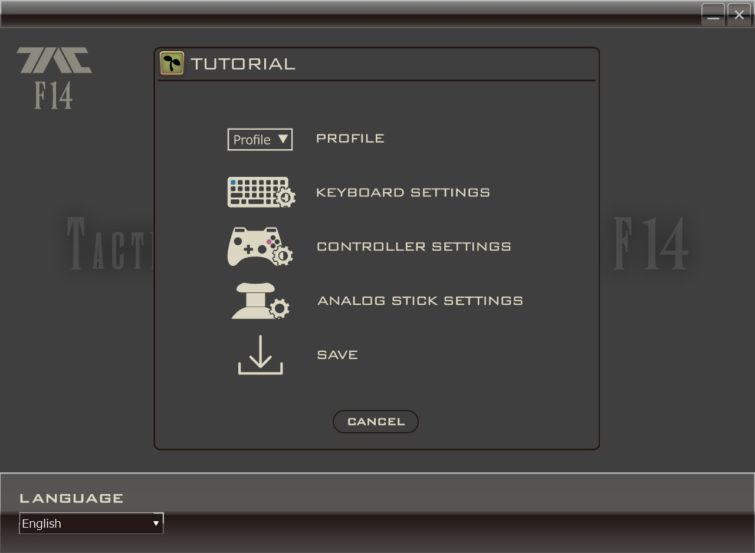
Tutorial

Click the icon to open the tutorial screen.
You can view the tutorial video for each feature.
Web Introductions
Scan the QR code or click on the URL to read the web instruction manual.
